
While the part I’m going to explain in editing and retouching is not the entire process of editing and retouching but it is the basic understanding for a person whom is not a photographer or professional retoucher to understand what I do and why I do it. The biggest part in my editing and retouching process is the selection process, selecting the best possible images from facial expression, pose, background, light, etc. and then perform basic editing on those selected and provide those to you known as Proof images in the proofing gallery. When you select your final selections for further editing is known as Retouching. A retoucher is basically going into an editing program to do intense and a lot of micro adjustments depending on the type of photograph it is.
Here’s the 3 stages of editing and retouching (side by side image provided below it)
- Straight out of Camera: This is where while in the session I take the photo you’d see this image on the back of the camera. Zero editing has been made.
- Basic Edit: This is where after I’ve selected the perfect images based on many variables such as facial expression, pose, background, light and many other super technical aspects. The basic edit will have light and color adjustments to the style of the photographer.
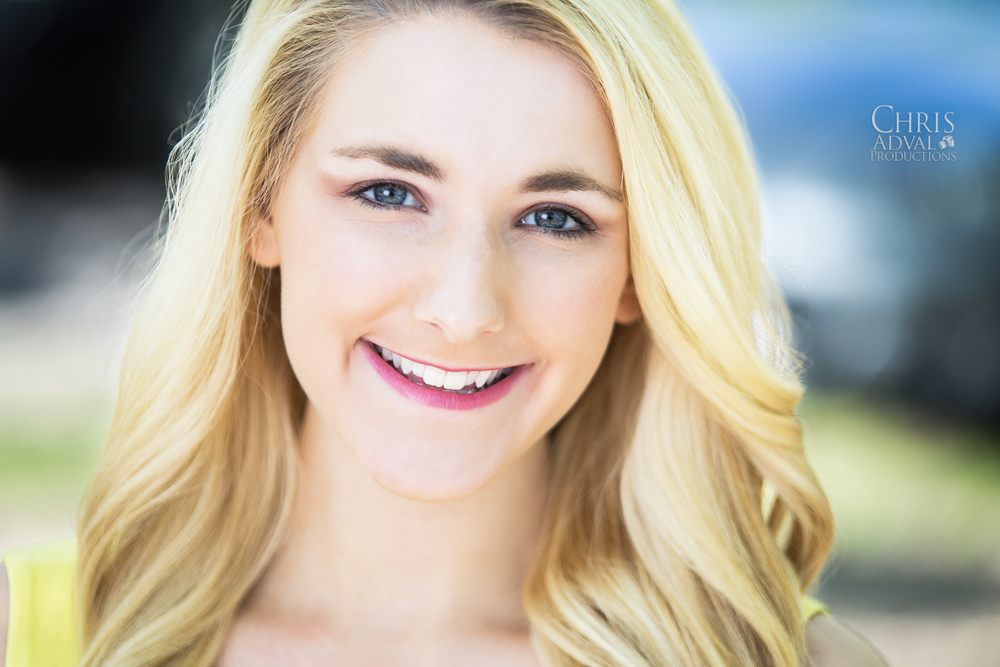
- Retouched Edits: A retouched image is where I or a professional retoucher makes many micro adjustments for perfection to the style photographer. Micro adjustments can be skin repair, selective color/light adjustments to improve or emphasize certain parts of the hair, face and facial expression.
Here are the images to see the differences. To an untrained eye the retouched version has micro adjustments you may not see the differences on a monitor or small prints but they are more noticeable on larger screens or prints you’d then should see the differences much better.

Close-up
